Wooden Floor Step by Step
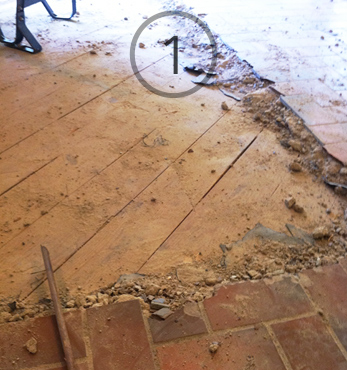
step 1
Properly cleaning out the existing flooring and establishing a proper base for new wood flooring is essential. The Woodall team is available to communicate with the customer on important considerations such as the condition of the foundation and existing flooring. The customer should have a clear and realistic expectation for the expected outcome of the wood flooring project. The customer should ask questions regarding what options are available to them.
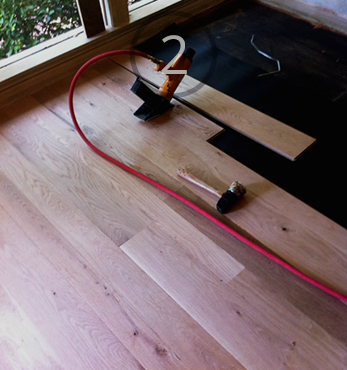
step 2
Sanded Twice. The process involves choosing the right wood, preparing the floor properly and setting the panels to adhere in the best way possible throughout the room as needed. The goal is to not only comply with industry standards but take the project to a level that fully satisfies you, the customer.

step 3
Screen sanded and Polyurethane applied. Each process is designed to capture the essence of functionality and design. The flooring should be beautiful to look at, easy to walk on, and durable for years to come.
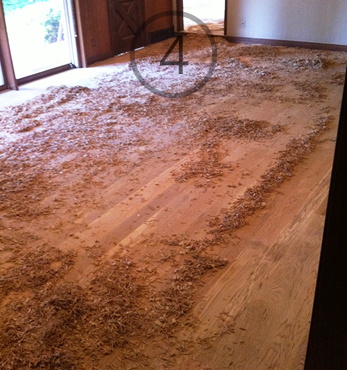
step 4
Woodall completes the installation process and thoroughly evaluates the flooring to ensure that the project is up to standard. We go over a checklist to make sure that everything has fallen into place perfectly according to plan. We encourage your feedback and do not consider the project complete until you are fully satisfied.
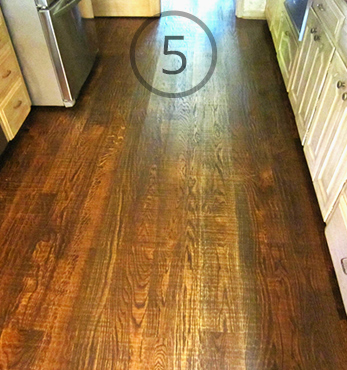
step 5
Awesome durable finish applied. Customer should walk through and observe the finished product. The customer can communicate with the Woodall team about their level of satisfaction and discuss any modifications or repairs that need to take place. The Woodall team is focused on complete customer satisfaction.