Wall Finish Story
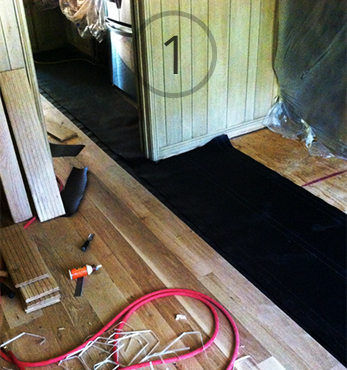
step 1
Creating a beautifully designed and well-appointed room is a priority for most fastidious homeowners. Attention to detail and to style are invaluable to the process. Your individual lifestyle and design choices take center stage when embarking on a remodeling or construction project. The room will truly transform as your Woodall team collaborates with you to make it happen.
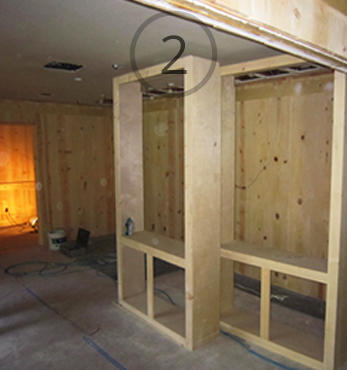
step 2
We removed existing trim and installed knotty white pine. The 1×12 panels of pine were installed on the walls. They were sanded and filled with pine wood filler.
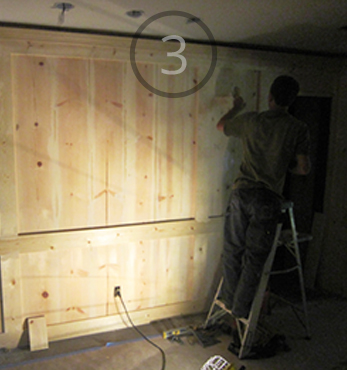
step 3
The 1×12 pine has been installed as a base layer. A detailed layer of trim and moldings is carefully applied. This stage is where the wall takes on some real character and definition. This is also where we are designing the function of the wall. The trim and moldings will define where the lights will be placed and where the art work will be positioned.
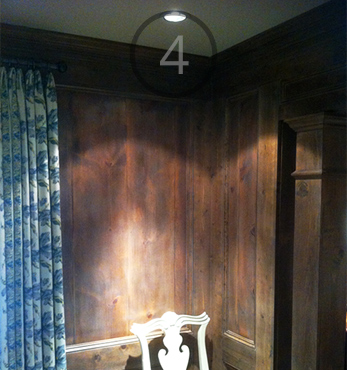
step 4
With help from your professional Woodall design team, creating your room of choice means creating one that really reflects your personality and meets our consistent standards of excellence.
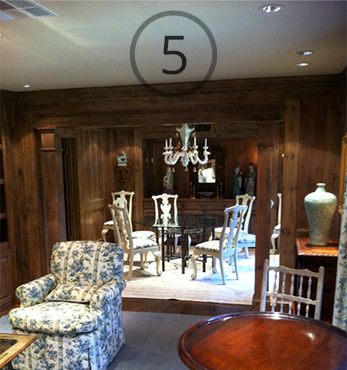
step 5
A diligent nine-step procedure was followed to achieve the outstanding look in the final pictures here. A methodical combination of stain, sealer, lacquer, paint and sanding was applied between each phase to achieve the superb final product. A room should transform into what you envision it to be!